Azeroth Survivors Kel'Thuzad: Naxxramas Boss Guide
Updated 2026-11-09
Version game build 077e7fb, data exported 2026-11-04
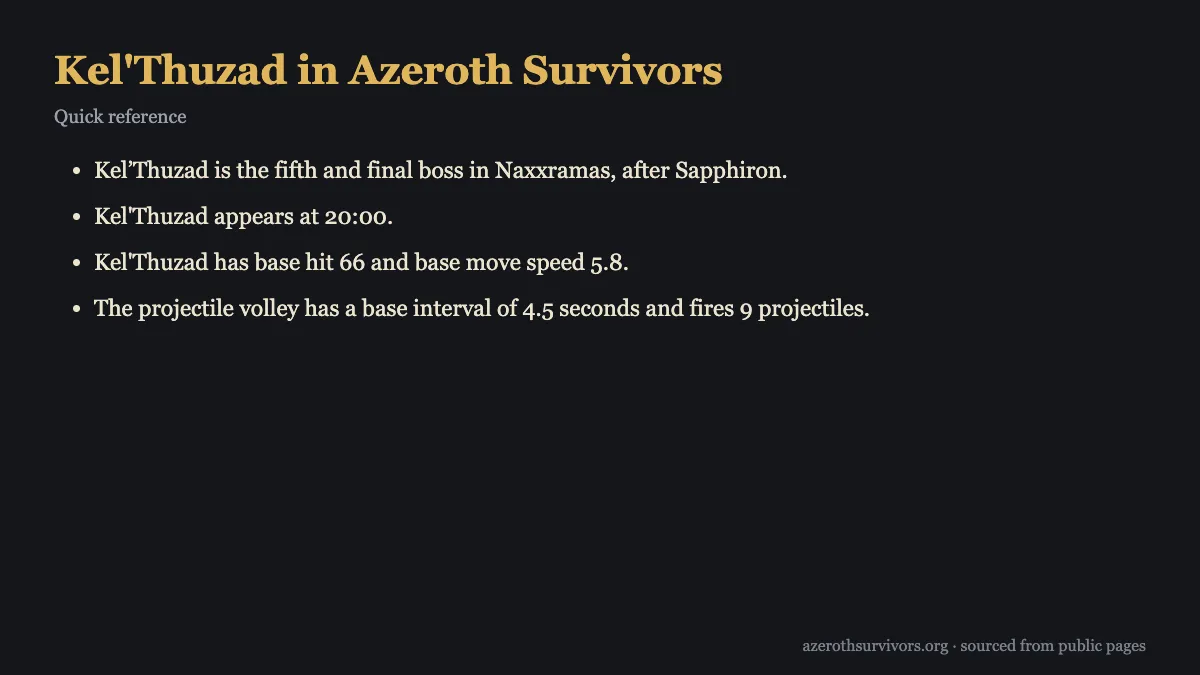
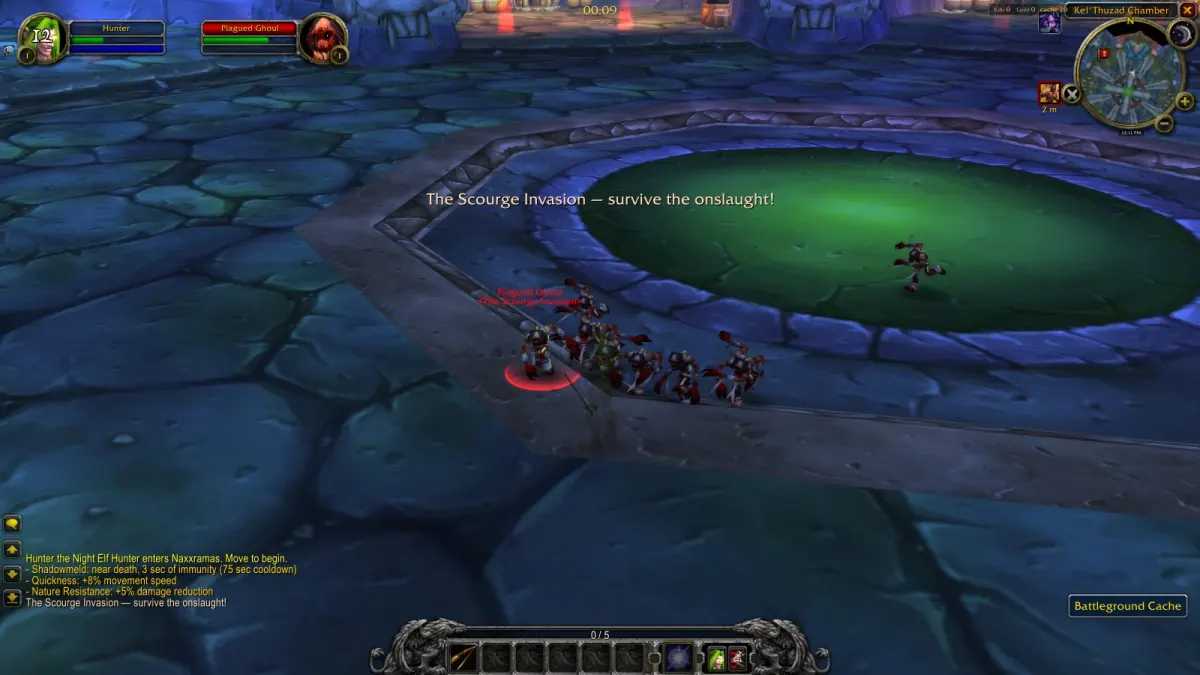
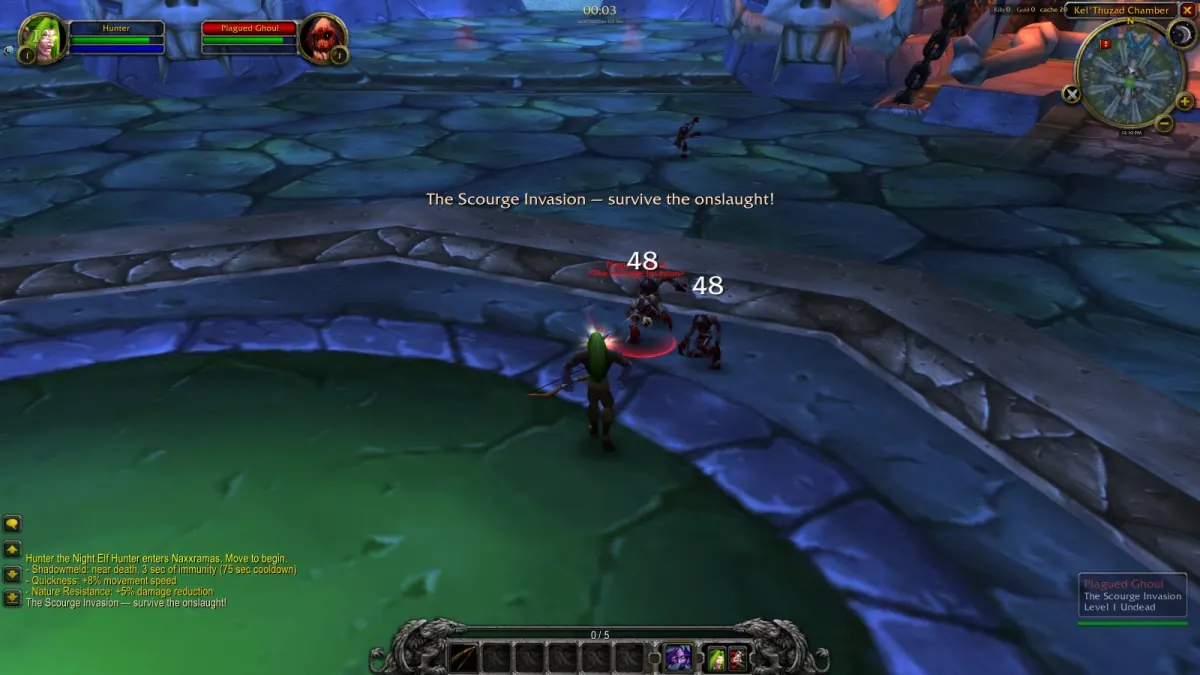
Azeroth Survivors Kel'Thuzad appears at the scheduled time as the fifth and final boss in Naxxramas, after Sapphiron. Prepare for marked circles, crossing lines, a projectile volley, and a bomb that follows you. Keep moving, read each warning, and preserve an escape route through summoned enemies.
When does Azeroth Survivors Kel'Thuzad appear?
Kel’Thuzad is the final encounter in Naxxramas, following Sapphiron. The fight begins at the scheduled time, so keep the encounter’s position in mind as you plan your route through the zone. Once Kel’Thuzad appears, make space to react to the marked attacks and the enemies summoned around you. Azeroth Survivors Kel'Thuzad is the last boss you face in this zone.
His base hit is 66 and his base move speed is 5.8. Those values give you a quick reference for the boss, while the attack warnings tell you where to move during the fight. Check the Naxxramas zone guide for the broader zone reference, and use the boss wiki to find other encounters.
The encounter also has health based phase changes, so watch Kel’Thuzad’s health bar as well as the attack warnings. His lines at the phase changes are useful cues: “Your soul is bound to me now!” appears below 70% health, and “Master, I require aid!” appears below 45%. Those phases happen once each. A later phase begins below 25% health, with its own marked circles.
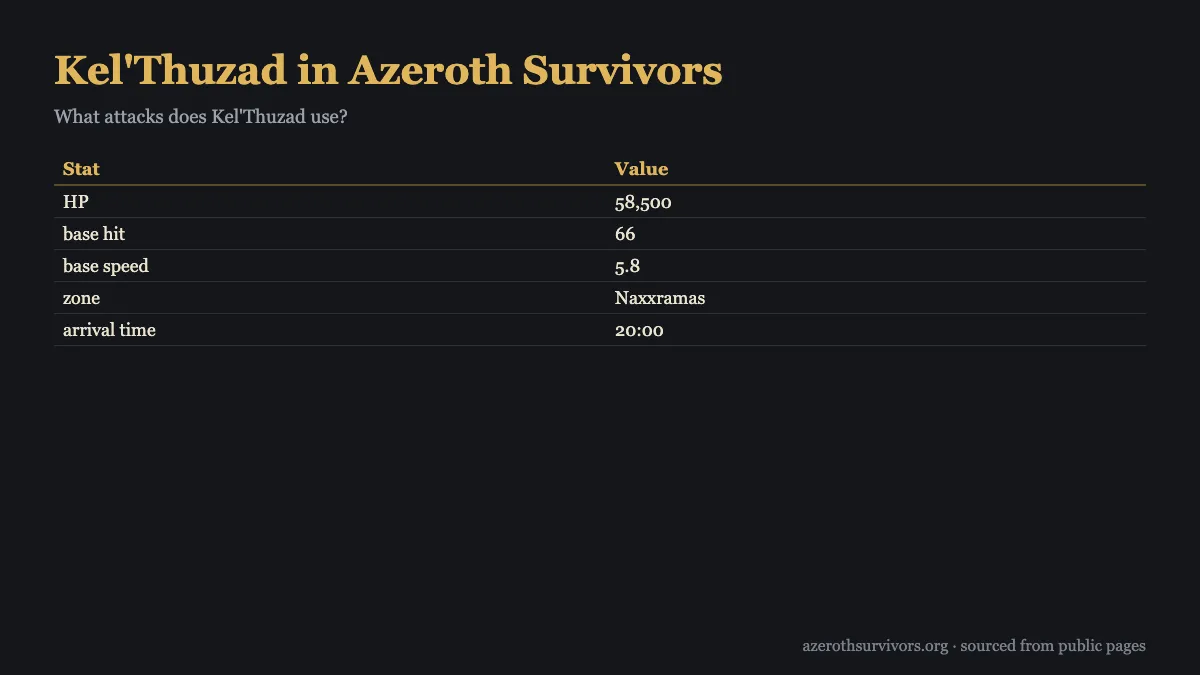
| Stat | Value |
|---|---|
| HP | 58,500 |
| base hit | 66 |
| base speed | 5.8 |
| zone | Naxxramas |
| arrival time | 20:00 |
How much HP does Kel'Thuzad have?
The listed boss stats give Kel’Thuzad’s base hit and base move speed, but the HP total is not stated here. The health bar still matters because Kel’Thuzad changes the encounter at specific health thresholds. Use those phase cues to anticipate new hazards rather than relying on an unstated total. For Azeroth Survivors Kel'Thuzad, health thresholds are the useful guide to phase changes.
Below 70% health, he triggers a phase once and says, “Your soul is bound to me now!” A circle grid appears with a 2-second warning. Move outside the marked circle when the grid appears, then resume watching for the regular attacks. The cue marks a change in the fight, so avoid focusing only on the boss while the ground warning is visible.
Below 45% health, Kel’Thuzad triggers another phase once and says, “Master, I require aid!” He summons 14 enemies at this phase. Keep an exit through the pack so you are not surrounded while you respond to the next warning. The general summon pattern also brings 14 enemies at a base interval of 10 seconds, making open movement space useful throughout the encounter.
Treat health as a prompt to adjust your attention: watch for the one-time phase message, read the new ground mark, and keep a path through the enemies. The Naxxramas guide is a useful companion when planning the zone route.
What attacks does Azeroth Survivors Kel'Thuzad use?
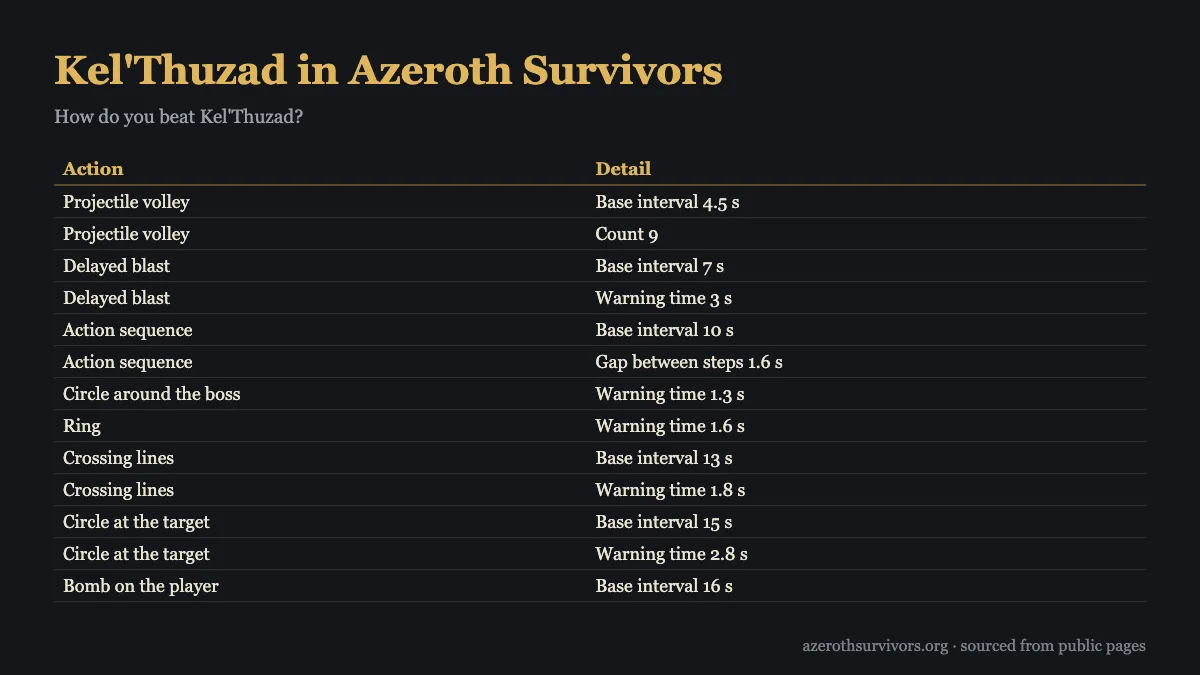
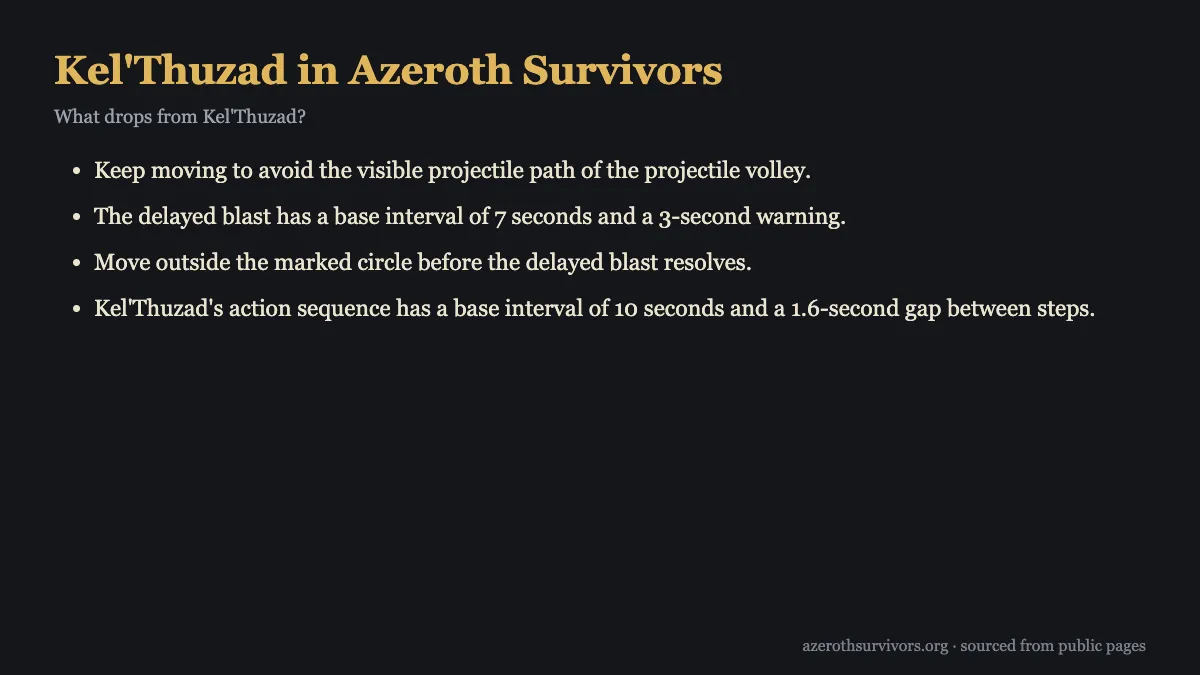
Kel’Thuzad’s attack set mixes projectiles, marked ground hazards, and a bomb on the player. The projectile volley fires 9 projectiles at a base interval of 4.5 seconds. Keep moving to avoid the visible projectile path; watch where the volley travels and adjust your direction before it reaches you.
The delayed blast has a base interval of 7 seconds and gives a 3-second warning. Move outside its marked circle before it resolves. His action sequence has a base interval of 10 seconds, with a 1.6-second gap between its steps. First comes a circle around the boss with a 1.3-second warning; move outside the marked circle before it resolves. The second action is a ring with a 1.6-second warning. Stay on the safe side of the marked ring and avoid crossing its danger band late.
Crossing lines recur at a 13-second base interval and show a 1.8-second warning. Step sideways out of the marked line when it appears. Circle at the target recurs at a 15-second base interval and warns for 2.8 seconds; move outside its marked circle before it resolves. The bomb on the player has a 16-second base interval. Carry it into the enemy pack before it explodes, while keeping an escape route.
| Action | Detail |
|---|---|
| Projectile volley | Base interval 4.5 s |
| Projectile volley | Count 9 |
| Delayed blast | Base interval 7 s |
| Delayed blast | Warning time 3 s |
| Action sequence | Base interval 10 s |
| Action sequence | Gap between steps 1.6 s |
| Circle around the boss | Warning time 1.3 s |
| Ring | Warning time 1.6 s |
| Crossing lines | Base interval 13 s |
| Crossing lines | Warning time 1.8 s |
| Circle at the target | Base interval 15 s |
| Circle at the target | Warning time 2.8 s |
| Bomb on the player | Base interval 16 s |
| Summon | Base interval 10 s |
| Summon | Summons 14 |
How do you beat Kel'Thuzad?
Read each warning before committing to a direction. For the projectile volley, keep moving away from its visible path. For the delayed blast, the boss’s first action, and circle at the target, leave the marked circle before it resolves. When crossing lines appear, step sideways out of the line; when the ring appears, stay on its safe side and do not cut across the danger band late.
The bomb changes how you use the summoned pack. Carry it into the enemy group before it explodes, but preserve an escape route as you move. Kel’Thuzad summons 14 enemies at a base interval of 10 seconds, and the 45% health phase adds another summon of 14. Keep an opening through them so the pack does not surround you.
At the 70% phase, leave the marked circles when the circle grid appears; its warning is 2 seconds. At the phase below 25% health, Kel’Thuzad says, “Enough! I tire of these distractions!” and marks three circles with a 4.5-second warning. Enter a marked circle before it resolves. This is a circle to stand in, so do not dodge away from it.
Actions speed up after Kel’Thuzad’s health first drops below 30%. Expect less time to settle between hazards, and keep your attention on the next visible warning while moving. Class planning can start with the class builds and the talent guides, then adapt your route to the marked attacks. Azeroth Survivors Kel'Thuzad rewards players who keep moving as the pace rises.
What drops from Kel'Thuzad?
Kel’Thuzad has listed class drops across several classes. Warrior’s listed drop is Sulfuras, Paladin’s is Ashbringer, and Hunter’s is Rhok'delar. Rogue has Thunderfury and Kingsfall listed. These names make the encounter relevant to players checking class equipment as well as those progressing through Naxxramas.
Priest and Shaman share the listed drops Anathema, Doomhammer, and Shield of the Earthshatter. Atiesh, Greatstaff of the Guardian is listed for Mage, Warlock, and Druid. If you are comparing options for a character, the class pages for Warrior and Mage provide related build references.
The Naxxramas legendary equipment page lists a 20% base chance per piece. That is the stated base chance for each piece; the class drop list identifies which equipment is associated with each class. Keep the boss’s movement and phase cues in view while fighting, then check the relevant class entries when deciding which listed drop matters for your character.
Azeroth Survivors Kel'Thuzad FAQ
Does Kel’Thuzad appear before Sapphiron?
No. Kel’Thuzad is the fifth and final Naxxramas boss, and he appears after Sapphiron. He arrives at the scheduled time.
How much HP does Kel’Thuzad have?
An exact HP total is not stated here. His listed base hit is 66, and his health thresholds cue one-time phases.
What should I do when the bomb appears?
Carry the bomb into the enemy pack before it explodes. Keep an escape route so the summoned enemies do not surround you.
Do all of Kel’Thuzad’s marked circles need to be dodged?
No. Leave the marked circles for the delayed blast, the first action in the sequence, circle at the target, and circle grid. For the below-25% phase, enter one of the three marked circles before it resolves.
What should I watch for in Azeroth Survivors Kel'Thuzad’s final phase?
Below 25% health, Kel’Thuzad says, “Enough! I tire of these distractions!” and marks three circles with a 4.5-second warning. Enter a marked circle before it resolves.