Azeroth Survivors Mor'Ladim: Duskwood Boss Guide
Updated 2026-11-09
Version game build 077e7fb, data exported 2026-11-04
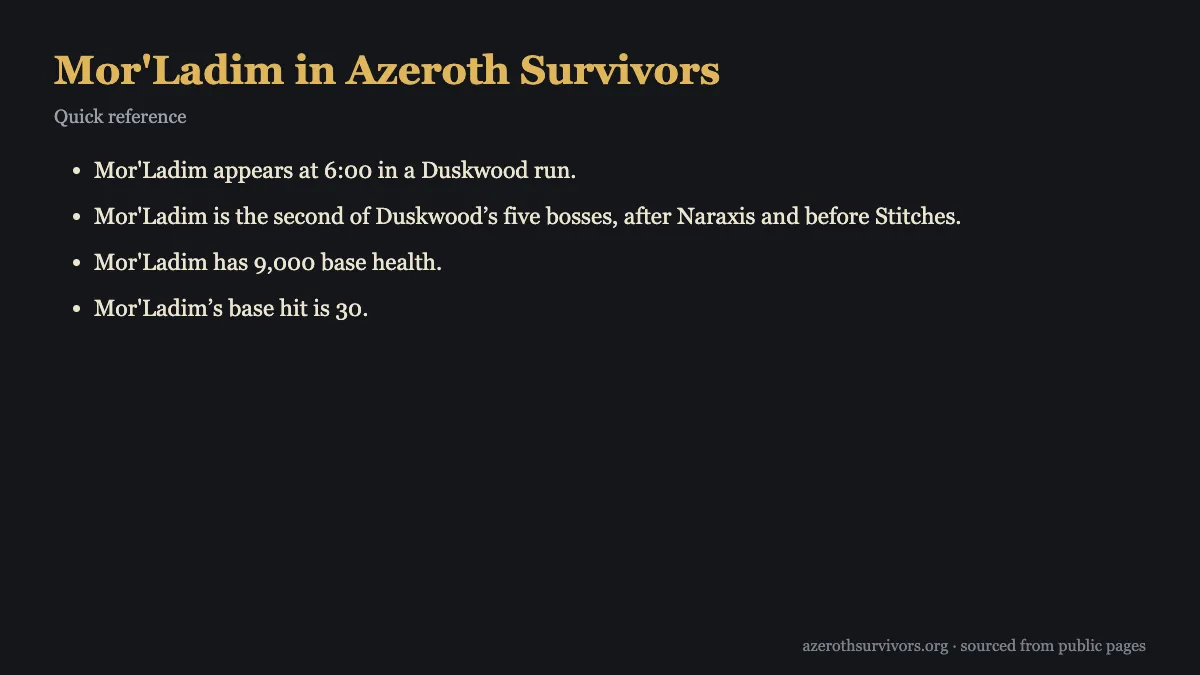
Azeroth Survivors Mor'Ladim appears at six minutes during a Duskwood run. He is the zone’s second boss, after Naraxis and before Stitches. His nine thousand base health and several distinct attacks make it useful to watch for each warning, keep an exit open, and leave marked danger areas before they resolve.
When Does Azeroth Survivors Mor'Ladim Appear?
Mor'Ladim appears at six minutes in a Duskwood run. That timing gives you a clear point to watch for as the run unfolds: when the clock reaches six minutes, expect the encounter with him. The Duskwood route places him after Naraxis and before Stitches, making him the second of the zone’s five bosses.
Keep the encounter’s place in the route in mind when preparing your movement. Mor'Ladim is the boss between Naraxis and Stitches, so the fight is one distinct part of a Duskwood run rather than the opening or closing boss encounter. For more zone context, see the Duskwood guide and the boss index.
Azeroth Survivors Mor'Ladim is easier to plan around when you recognize the appearance time and route position together. The six-minute mark identifies when he arrives, while his place after Naraxis and before Stitches tells you which boss you are facing. Once he appears, focus on his marked attacks and keep movement space available.
How Much HP Does Mor'Ladim Have?
Mor'Ladim has nine thousand base health. Treat that as his listed starting health value, and keep the word “base” in mind when comparing it with what you see during a run. His health is only one part of the encounter: the fight also asks you to react to Charge, Persistent hazard, Moving orbs, and Summon.
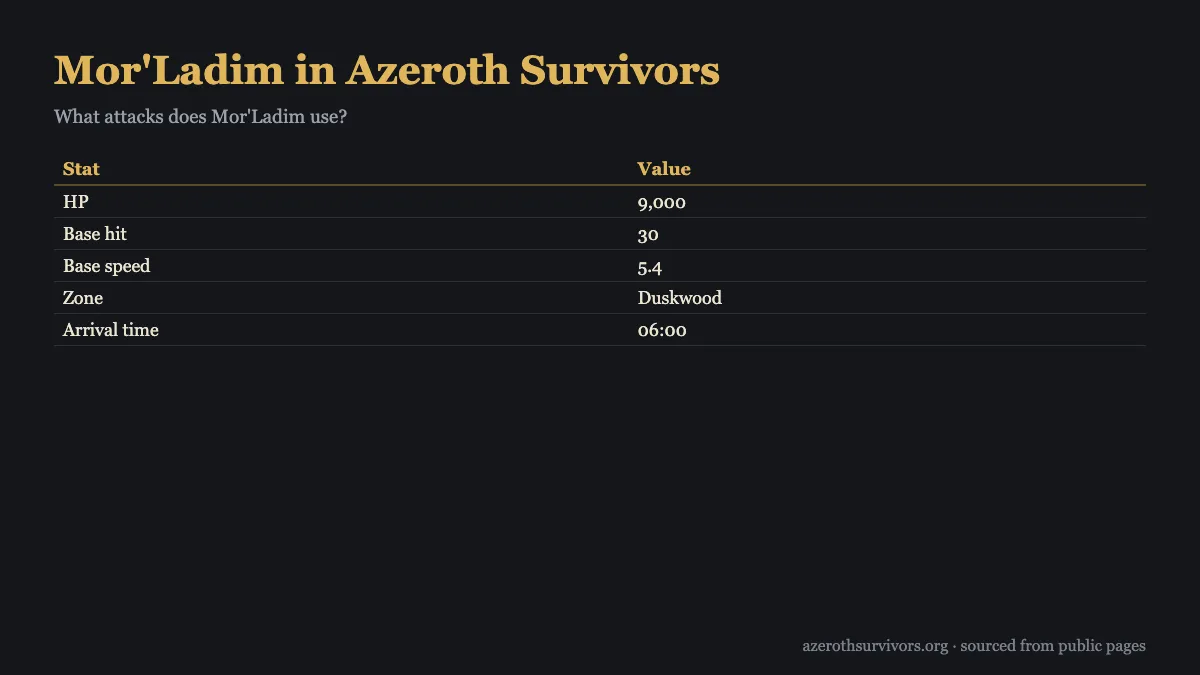
His base hit is 30, and his base move speed is 5.4. These values describe his listed hit and movement speed; they do not change the basic approach of watching attack cues and preserving room to move. The stat table collects the listed values in one place for a quick reference during preparation.
| Stat | Value |
|---|---|
| HP | 9,000 |
| Base hit | 30 |
| Base speed | 5.4 |
| Zone | Duskwood |
| Arrival time | 06:00 |
Mor'Ladim’s actions speed up after his health first drops below 30%. That point matters during the fight because the action pace changes as his health falls. Keep watching for each attack cue as the encounter continues, especially once he passes that threshold. Simultaneous casts also affect his base action intervals, so intervals should be read as base timings rather than an assurance that every action will occur in isolation.
What Attacks Does Azeroth Survivors Mor'Ladim Use?
Mor'Ladim’s attack set combines a charge, a marked area hazard, moving projectiles, and summoned adds. The base intervals describe the listed timing for each action. Simultaneous casts can affect those intervals, and his actions speed up after his health first drops below 30%, so use the visible cue and current danger to guide your response.
Charge
Charge has a base interval of 8 seconds. Leave the marked path when it appears, and keep an open exit so you have room to move away from the route. Avoid committing to a position that leaves you with no clear way out.
Persistent hazard
Persistent hazard has a base interval of 12 seconds and a 1-second warning. Move outside the marked circle before it resolves. The warning gives you a cue to act, so respond to the circle while it is visible instead of waiting for the hazard to finish resolving.
Moving orbs
Moving orbs have a base interval of 14 seconds and a count of 1. Keep room to move and avoid the visible projectile path. Read the path as it appears and make space for a safe route around it.
Summon
Summon has a base interval of 15 seconds and brings in 6 adds. Mor'Ladim calls, “Minions, to me!” when he summons. Keep an exit open and do not let the adds surround you.
How Do You Beat Mor'Ladim?
Azeroth Survivors Mor'Ladim is best handled by responding to each attack with movement that preserves another route out. For Charge, step off the marked path and leave an exit open. For Persistent hazard, move beyond the marked circle before it resolves. When Moving orbs appear, avoid the visible projectile path and keep enough room to change direction.
Summon calls for a different kind of space management: Mor'Ladim summons 6 adds and says, “Minions, to me!” Keep an exit open, and do not let the adds surround you. That advice also fits the broader encounter: watch the space around your character and avoid letting a marked attack or the adds close off your movement.
Pay attention to the pace as his health falls. Once his health first drops below 30%, his actions speed up. Simultaneous casts also affect his base action intervals, so stay ready for overlapping cues rather than treating every listed interval as a guaranteed pause. Keep reacting to what is marked or visible as the fight changes.
The core responses are straightforward: leave the Charge path, exit the circle before Persistent hazard resolves, avoid the Moving orbs projectile path, and maintain an exit when adds arrive. If you are choosing a class setup, browse the available class builds or the Paladin build for a class-specific starting point.
What Drops From Mor'Ladim?
Mor'Ladim’s listed class drops are Common boots or greaves, each with a 60% base chance. The Warrior item is Recruit's Sabatons, which add 5.3% movement speed. The listed Warrior drop chance is 60%; the other class entries below also have a 60% base chance.
- Warrior: Common Recruit's Sabatons; adds 5.3% movement speed; 60% base chance.
- Paladin: Common Squire's Sabatons; 60% base chance.
- Hunter: Common Tracker's Greaves; 60% base chance.
- Rogue: Common Footpad's Boots; 60% base chance.
- Priest: Common Acolyte's Boots; 60% base chance.
- Shaman: Common Primal Greaves; 60% base chance.
- Mage: Common Apprentice's Boots; 60% base chance.
- Warlock: Common Novice's Boots; 60% base chance.
- Druid: Common Thicket Boots; 60% base chance.
The item name depends on your class, so check the matching entry rather than looking for one shared boot name. For example, the Mage entry is Apprentice's Boots, while the Druid entry is Thicket Boots. The Warrior entry is the one with a stated movement-speed bonus: Recruit's Sabatons add 5.3% movement speed.
Each listed chance is a base chance. The matching class drop and its chance are useful to know when deciding whether the reward fits your character. For more class options, browse the Mage build or Warrior build pages.
Azeroth Survivors Mor'Ladim FAQ
When should I watch for Mor'Ladim in Duskwood?
Watch for him at six minutes in a Duskwood run. He is the second of the zone’s five bosses, after Naraxis and before Stitches.
How does Mor'Ladim’s pace change during the fight?
His actions speed up after his health first drops below 30%. Simultaneous casts also affect his base action intervals, so keep responding to the cues you see.
What should I do when Mor'Ladim marks a circle?
Move outside the marked circle before Persistent hazard resolves. It has a 1-second warning, so use that cue to leave the danger area.
How many adds arrive when he summons?
Mor'Ladim summons 6 adds and calls, “Minions, to me!” Keep an exit open and do not let them surround you. Move into open space before the adds can close in.
Which boots can I get from Azeroth Survivors Mor'Ladim?
The class drop is Common footwear with a 60% base chance, such as the Mage’s Apprentice's Boots or the Warrior’s Recruit's Sabatons. The Warrior item adds 5.3% movement speed. Azeroth Survivors Mor'Ladim has these class-specific boot drops.