Azeroth Survivors Ravasaur Matriarch: Fight Guide
Updated 2026-11-09
Version game build 077e7fb, data exported 2026-11-04
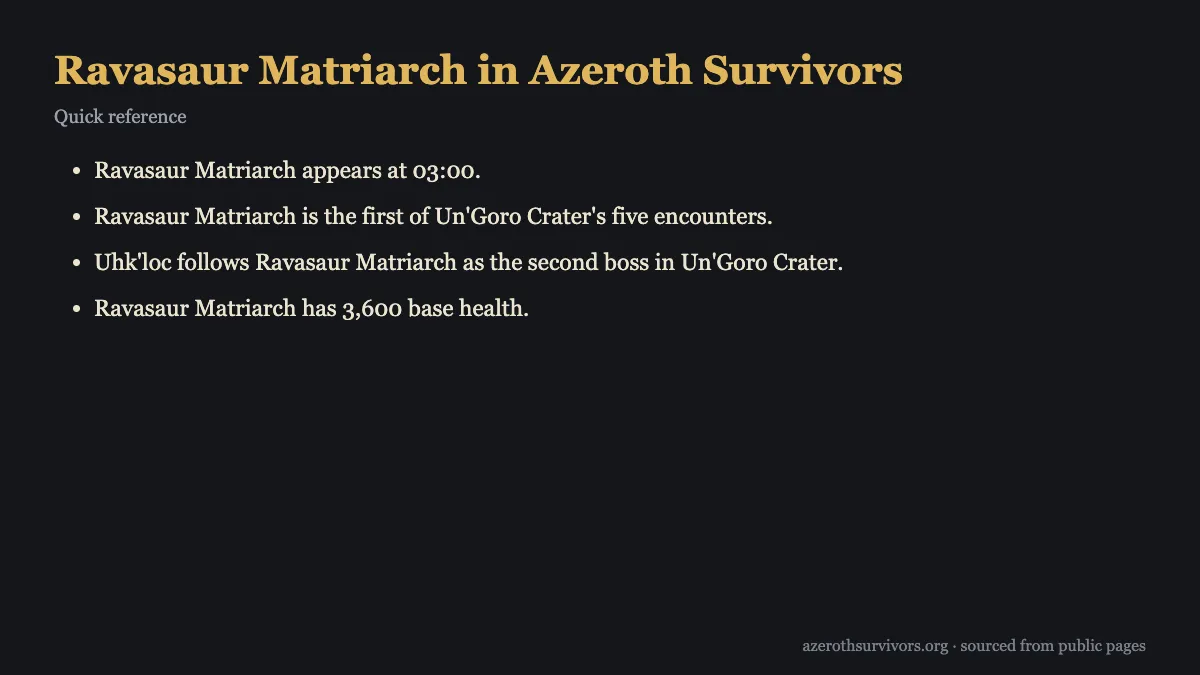
Azeroth Survivors Ravasaur Matriarch appears at three minutes as the first of Un'Goro Crater's five encounters. It has three thousand six hundred base health and uses charges, scattered circles, and summoned enemies. Watch the marked areas, keep an open route to move through, and be ready for faster attack actions once its health first falls below 30%.
When does Azeroth Survivors Ravasaur Matriarch appear?
Ravasaur Matriarch appears at the three-minute mark. That makes the encounter a timed arrival to prepare for as you move through Un'Goro Crater. She is the zone's first boss, and the zone guide lists King Mosh as its last. The Matriarch is the first of five encounters in the crater, so her appearance marks the opening of that sequence.
The encounter begins with the line “The Ravasaur Matriarch shrieks, and her pack answers!” Treat the shriek as a clear cue that the boss encounter is underway. Her summons are part of the fight, so keep track of both the Matriarch and the enemies that answer her call. This context helps you recognize the encounter and focus on its movement patterns from the start.
Uhk'loc follows Ravasaur Matriarch as the second boss in Un'Goro Crater. If you are following the zone progression, the Matriarch comes before Uhk'loc, with more encounters between the first and last bosses. The Un'Goro Crater zone guide gives the broader zone context, while the boss guide index links to other encounters. Knowing where she sits in the sequence makes her arrival easier to place.
How much HP does Ravasaur Matriarch have?
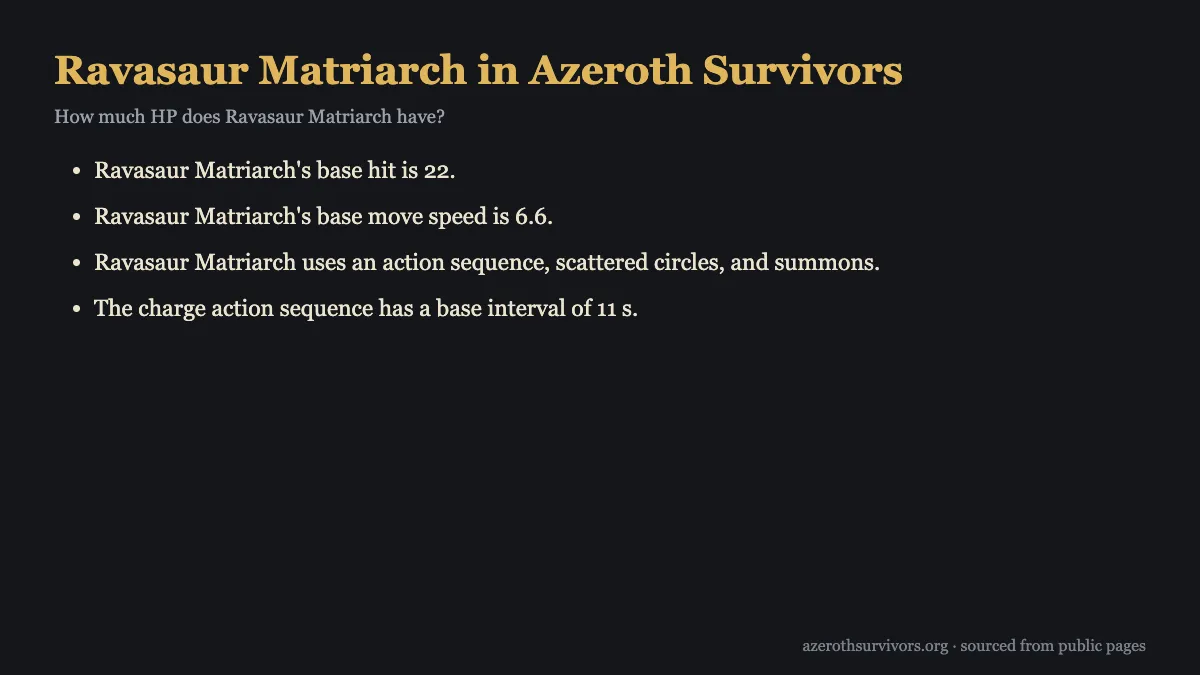
Ravasaur Matriarch has three thousand six hundred base health. Her base hit is 22, and her base move speed is 6.6. These are the listed base values for the encounter, so use them as reference points rather than assuming every moment of the fight will feel identical. Her attacks speed up after her health first drops below 30%, and simultaneous casts also affect the base intervals.
The health total tells you this is a sustained boss encounter, while the hit and movement values describe her baseline pressure. The practical challenge is responding to the actions around her: charges can cross marked paths, circles need to be cleared, and summoned enemies can close off an exit. Watch the battlefield and leave room to move instead of relying only on the health bar as your guide.
Azeroth Survivors Ravasaur Matriarch becomes more active once health first falls below 30%, because attack actions speed up at that point. Keep your attention on the action itself and the open space around you as the fight continues. Simultaneous casts also affect base intervals, so do not treat an interval as a guarantee that only one threat will appear at a time.
What attacks does Azeroth Survivors Ravasaur Matriarch use?
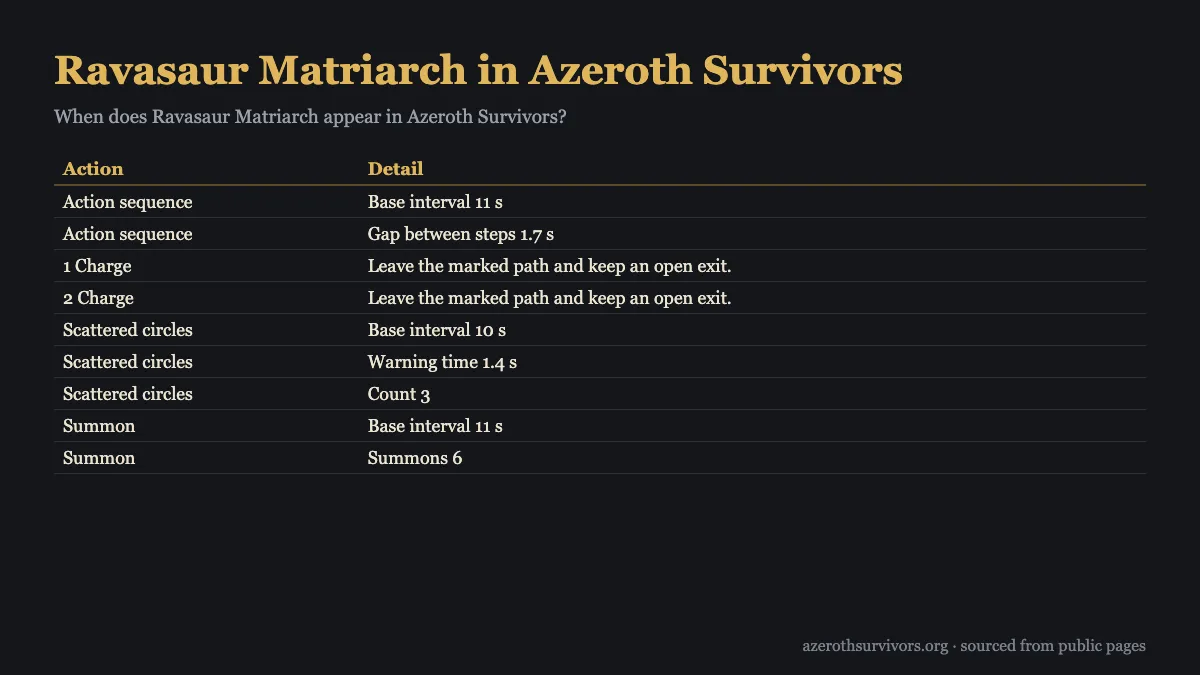
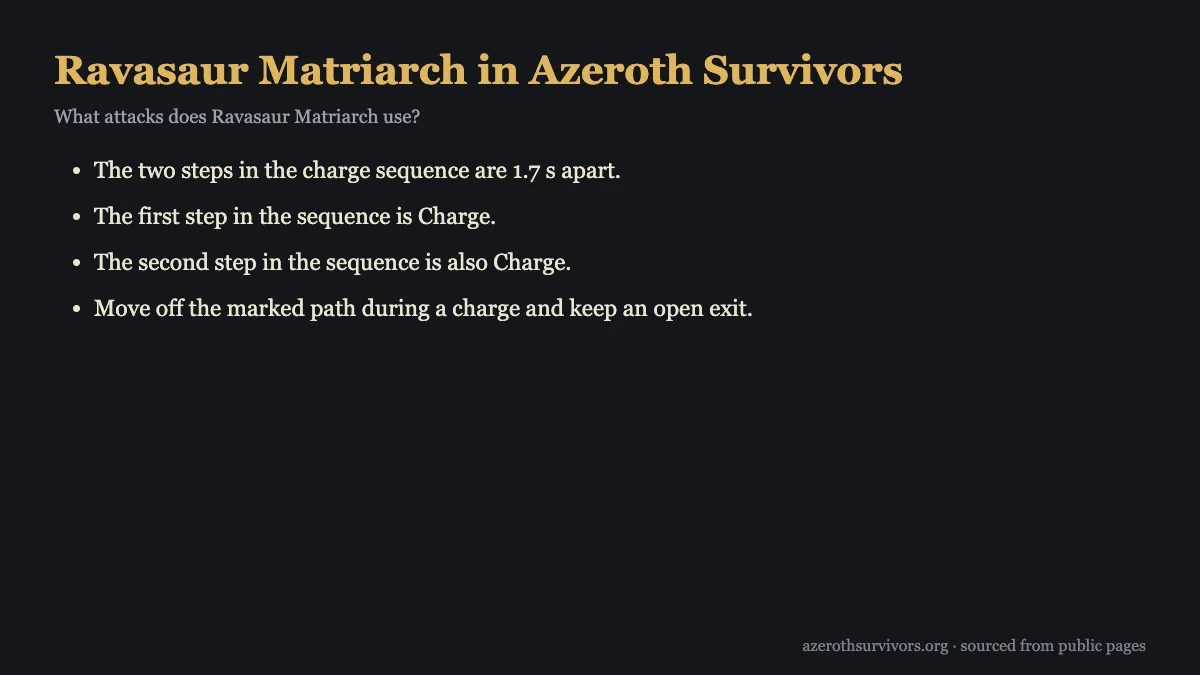
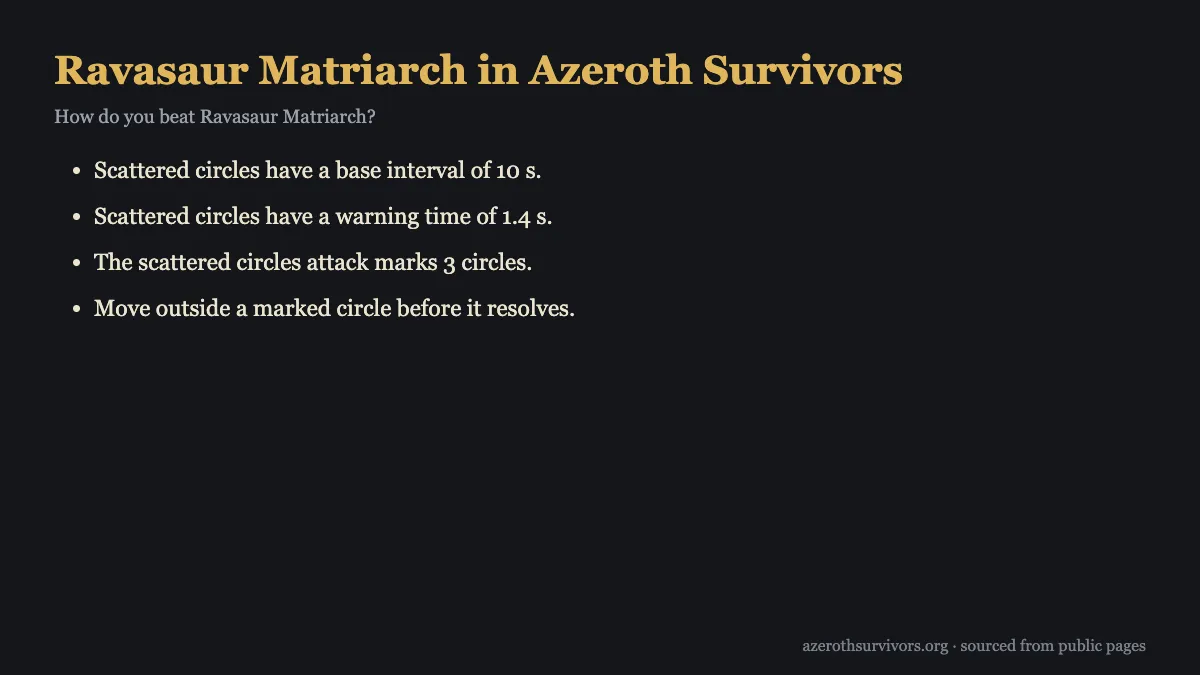
The Matriarch uses an action sequence, scattered circles, and summons. The charge sequence has a base interval of 11 s, with its two steps 1.7 s apart. Both steps are Charge. Move off the marked path during a charge and keep an open exit so you have somewhere to go as the sequence continues. The circles have a base interval of 10 s and a warning time of 1.4 s; the attack marks 3 circles. Move outside a marked circle before it resolves.
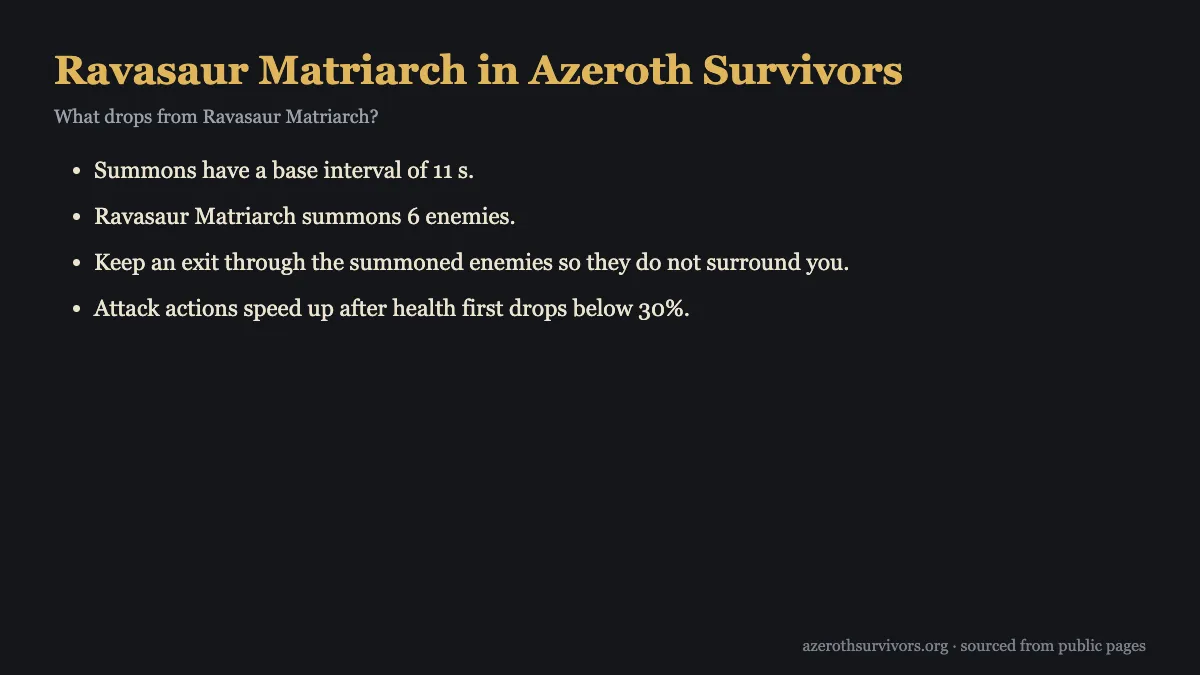
Summons have a base interval of 11 s, and the Matriarch summons 6 enemies. Keep an exit through the summoned enemies so they do not surround you. These actions may overlap: simultaneous casts affect the base intervals. Attack actions also speed up after health first drops below 30%, so stay alert to the attack cues throughout the encounter. The action reference table collects the listed details in one place.
| Action | Detail |
|---|---|
| Action sequence | Base interval 11 s |
| Action sequence | Gap between steps 1.7 s |
| 1 Charge | Leave the marked path and keep an open exit. |
| 2 Charge | Leave the marked path and keep an open exit. |
| Scattered circles | Base interval 10 s |
| Scattered circles | Warning time 1.4 s |
| Scattered circles | Count 3 |
| Summon | Base interval 11 s |
| Summon | Summons 6 |
Use the marked path, marked circles, and pack of summoned enemies as distinct movement cues. During a charge, clear the path and preserve an exit. When circles appear, move outside them before they resolve. When enemies arrive, avoid letting them close every route. The class guide index can help you review the class you are playing before this encounter.
How do you beat Ravasaur Matriarch?
Beat the Matriarch by making space for each of her three threats. Move off the marked path during the two Charge steps, and keep an open exit throughout the sequence. When scattered circles are marked, leave every marked circle before it resolves. When the summoned enemies appear, maintain a route through them so they cannot surround you. These responses address the encounter's core patterns without requiring you to guess at hidden mechanics.
Pay close attention as her health first drops below 30%. Attack actions speed up after that point, so respond to what is happening on screen rather than following a fixed rhythm. Simultaneous casts also affect the base intervals, which means you should be ready to move when another warning appears. Keep space around your position and avoid getting trapped between the boss, a marked area, and her summoned enemies.
Azeroth Survivors Ravasaur Matriarch rewards steady positioning: make an exit before pressure builds, then use it when a path, circle, or pack threatens your space. Clear the marked charge path instead of trying to stand your ground on it. Leave circles before they resolve, and avoid letting summoned enemies surround you. Repeating those simple responses gives you a clear plan through the faster actions near the end of the fight.
For class preparation, use the relevant Warrior build or your own class page from the class builds. These pages provide a place to review your chosen class before taking on the Matriarch. In the encounter itself, keep your focus on the visible cues and available exits; the base intervals can shift when actions are cast simultaneously.
What drops from Ravasaur Matriarch?
Ravasaur Matriarch drops an Uncommon legs piece for the class being played. Each listed class piece has a 50% base chance. The Warrior drop is Legplates of Valor; the Paladin drop is Lightforge Legplates; the Hunter drop is Beaststalker's Legguards; the Rogue drop is Shadowcraft Pants; and the Priest drop is Devout Leggings.
The remaining listed drops are Legguards of Elements for Shaman, Magister's Leggings for Mage, Dreadmist Leggings for Warlock, and Wildheart Pants for Druid. The item is tied to the class being played, so check the matching entry for your character. For Warriors, Legplates of Valor provide +17 max health, +0.6% critical strike, +0.4 health per second, and +2.8% area of effect.
The Matriarch has a straightforward class-based legs reward to look for after the encounter. The Warrior listing gives the item name, its 50% base chance, and its listed stats; the other classes have their own named Uncommon legs piece. The drop details here cover the listed reward for each class, with the Warrior item having its bonuses specified.
Azeroth Survivors Ravasaur Matriarch FAQ
Does Azeroth Survivors Ravasaur Matriarch's charge happen only once?
The charge action is a two-step sequence, with Charge as both steps. The steps are 1.7 s apart, so move off the marked path and preserve an exit.
How many circles should I expect?
The scattered circles attack marks 3 circles, with a warning time of 1.4 s. Move outside a marked circle before it resolves.
How many enemies does she summon?
Ravasaur Matriarch summons 6 enemies, and summons have a base interval of 11 s. Keep an exit through them so they cannot surround you.
When do her attacks speed up?
Attack actions speed up after her health first drops below 30%. Simultaneous casts also affect the base intervals, so watch the encounter cues.
What should I focus on when her health is low?
Keep moving in response to the charge path and circles, and preserve a route through summoned enemies. Azeroth Survivors Ravasaur Matriarch speeds up attack actions after health first falls below 30%.