Azeroth Survivors Bloodlord Mandokir: Arena Boss Guide
Updated 2026-11-09
Version game build 077e7fb, data exported 2026-11-04
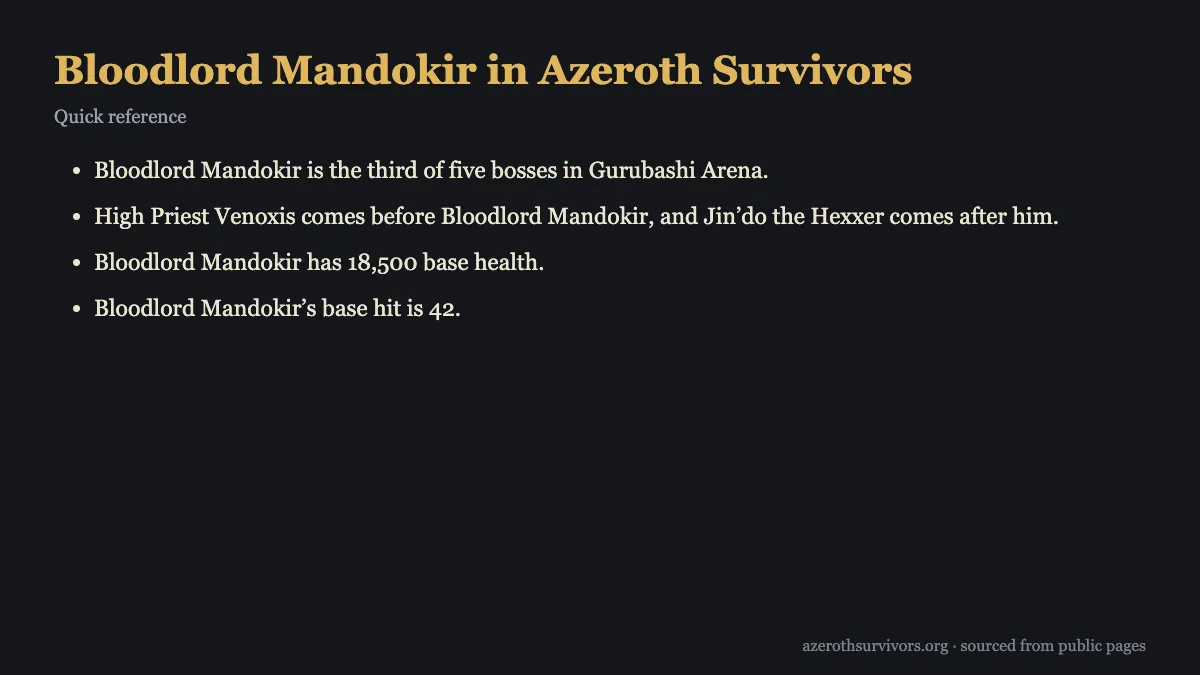
Azeroth Survivors Bloodlord Mandokir is the third of five bosses in Gurubashi Arena. High Priest Venoxis comes before him, and Jin’do the Hexxer follows. To handle the fight, watch for the marked Charge path and hazard circle, obey the stop moving warning, and keep an exit open when adds arrive.
When does Azeroth Survivors Bloodlord Mandokir appear?
Bloodlord Mandokir appears as the third boss in the five boss sequence in Gurubashi Arena. High Priest Venoxis is the encounter before him, and Jin’do the Hexxer comes after. That order makes Mandokir a middle encounter in the arena run, with another boss still waiting after him.
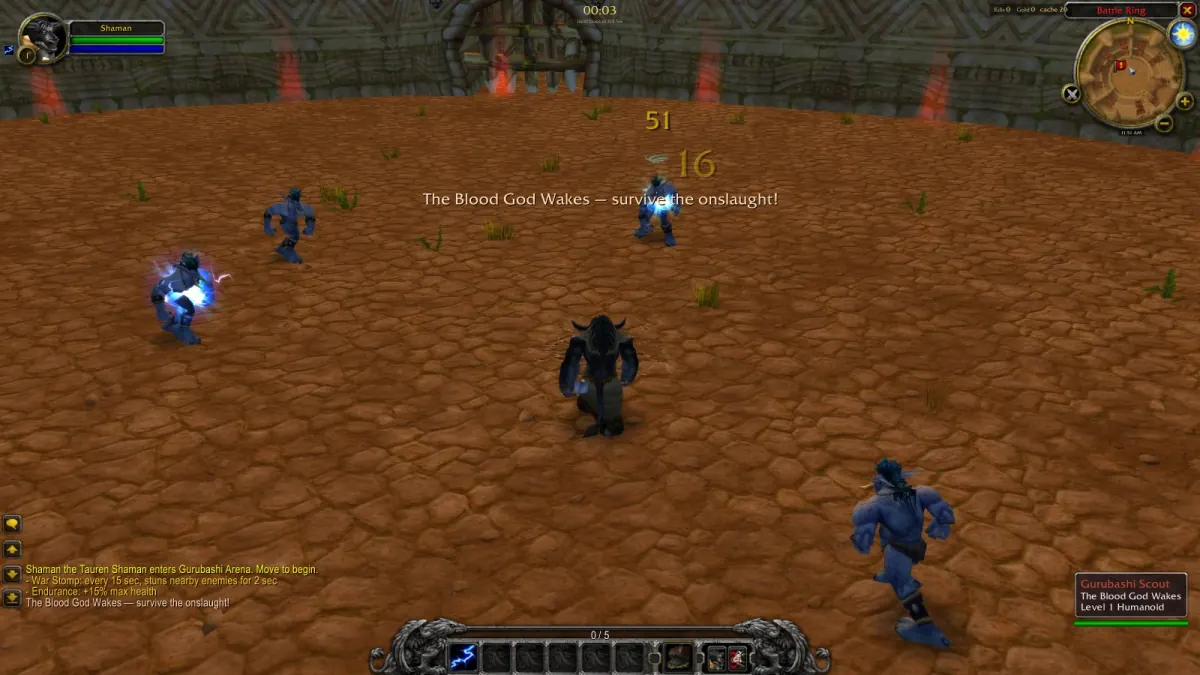
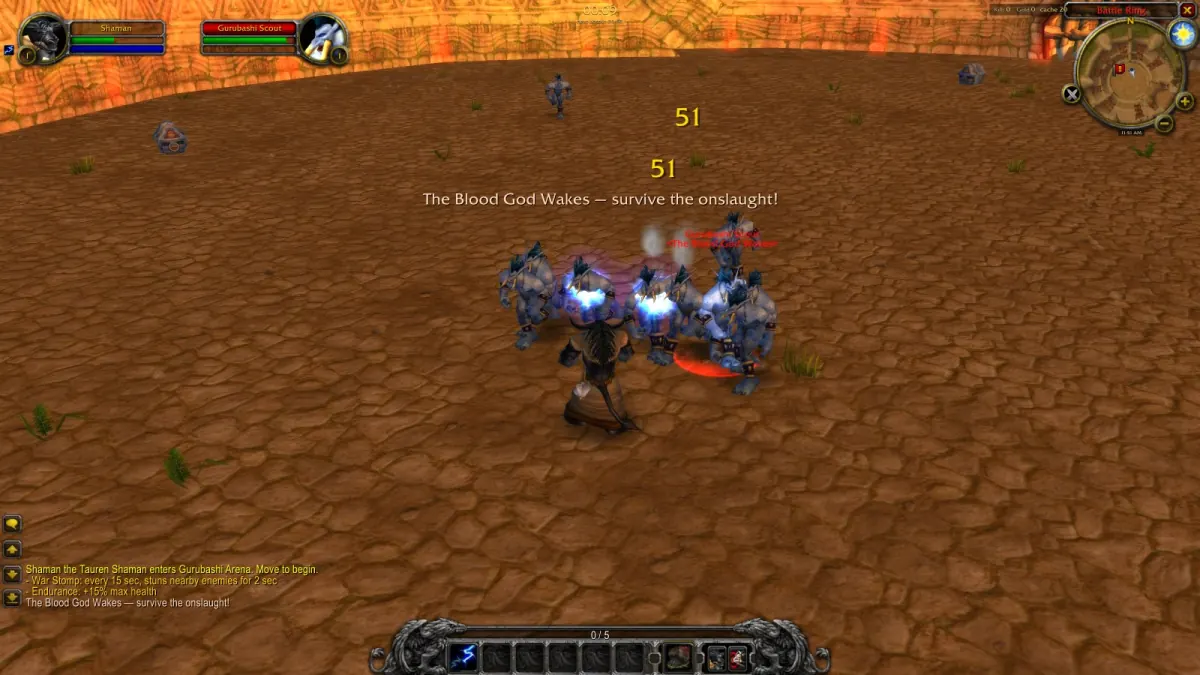
The encounter line is “I'll feed your souls to Hakkar himself!” Treat that as the start of his fight and be ready to respond to several different action types. He can charge, create a persistent hazard, call for a movement check, and summon adds. The order of those actions can change with simultaneous casts, so the base intervals give you a guide rather than a promise of one isolated event at a time.
If you are checking the arena sequence before entering, the Gurubashi Arena page gives the relevant zone context. Browse the encounters covered on the site from the wiki home. Keep the order in mind during the run: Venoxis first, Mandokir next, then Jin’do.
The pace changes when Mandokir’s health first drops below 30%: his actions speed up from that point. That shift makes it useful to recognize the warning cues before the encounter reaches that threshold. Once you are familiar with the charge path, circle warning, gaze warning, and add summon, the faster pace still asks you to respond to the same stated cues.
How much HP does Bloodlord Mandokir have?
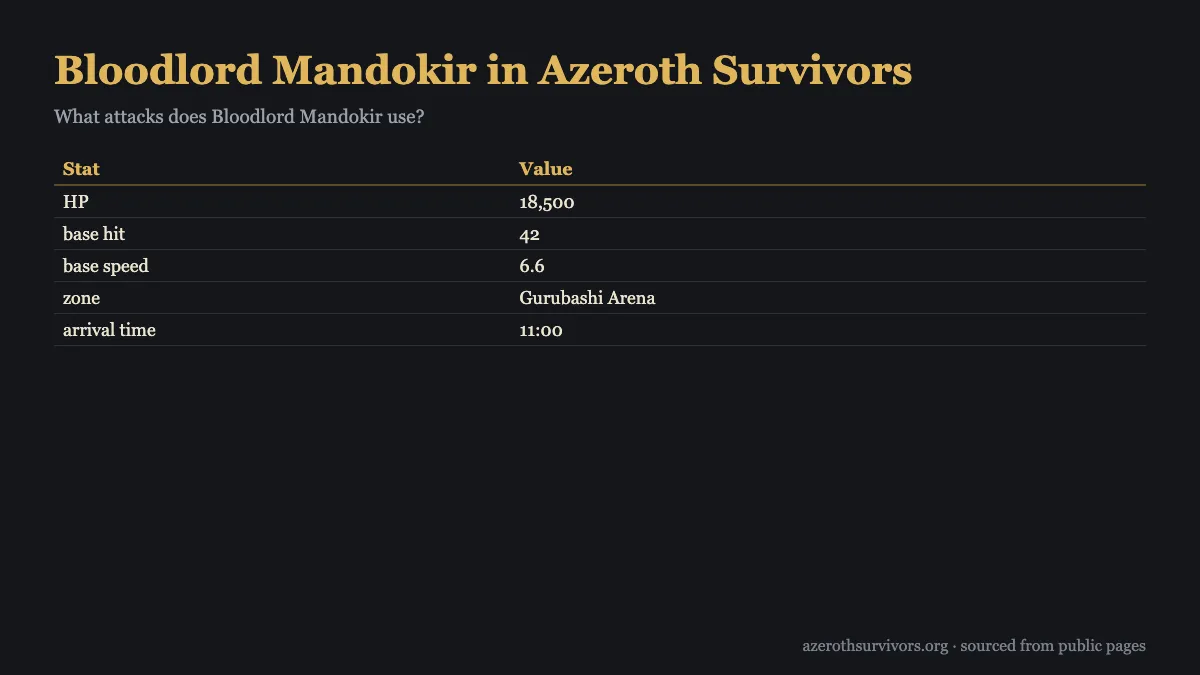
Bloodlord Mandokir has eighteen thousand five hundred base health. His base hit is 42, and his base move speed is 6.6. These are the base reference values for the encounter; the action intervals below also describe base timings, and simultaneous casts affect those intervals.
| Stat | Value |
|---|---|
| HP | 18,500 |
| base hit | 42 |
| base speed | 6.6 |
| zone | Gurubashi Arena |
| arrival time | 11:00 |
The health figure gives you a straightforward reference for the boss, while the below 30% threshold matters because that is when his actions speed up. The threshold is based on his health dropping below that point for the first time. Expect a sharper pace after it happens, and keep paying attention to each warning rather than assuming the opening rhythm will continue.
His base move speed is 6.6, but the key choices in this fight come from the action warnings: clear the marked charge path, leave the hazard circle, stop when the gaze warning tells you to, and preserve an exit when adds are summoned. His base hit is 42, so the encounter’s main response pattern is about reading those cues and managing space around them.
For class preparation, the site’s class pages and individual Warrior build can help you find class focused information. They do not change Mandokir’s listed base health or the timing cues described here. Keep the numbers as reference points, then make your choices from the action warnings you see during the fight.
What attacks does Azeroth Survivors Bloodlord Mandokir use?
Azeroth Survivors Bloodlord Mandokir uses Charge, Persistent hazard, Movement check, and Summon. Each action asks for a different response: avoid a marked route, get out of a marked circle, stop moving on command, or keep space to escape the new enemies. His base action intervals are 7 seconds for Charge, 10 seconds for Persistent hazard, 14 seconds for Movement check, and 13 seconds for Summon.
Charge has a marked path. Keep clear of that path and leave an exit open so your route away from it is available. The Persistent hazard has a 1-second warning before it resolves. Move outside the marked circle during that warning, then keep watching for the next cue.
The Movement check warning says, “Bloodlord Mandokir fixes its gaze on you! Do not move!” Stop moving when the warning appears, and resume only after the check resolves. Moving through the warning would ignore the specific instruction the encounter gives you, so treat the text as a direct command rather than as a cue to reposition.
Summon brings 10 adds at a base interval of 13 seconds. Keep an exit through those enemies instead of letting them close around you. Simultaneous casts affect the base intervals of Mandokir’s actions, and his actions speed up after his health first drops below 30%. That means the listed intervals are useful cues to know, while the active warnings remain the best guide to what is happening now.
How do you beat Bloodlord Mandokir?
Beat Bloodlord Mandokir by responding to the warning for the action that is happening and protecting an open route through the arena. For Charge, stay clear of the marked path and leave an exit open. For Persistent hazard, move beyond the marked circle before it resolves; its warning lasts 1 second at base timing.
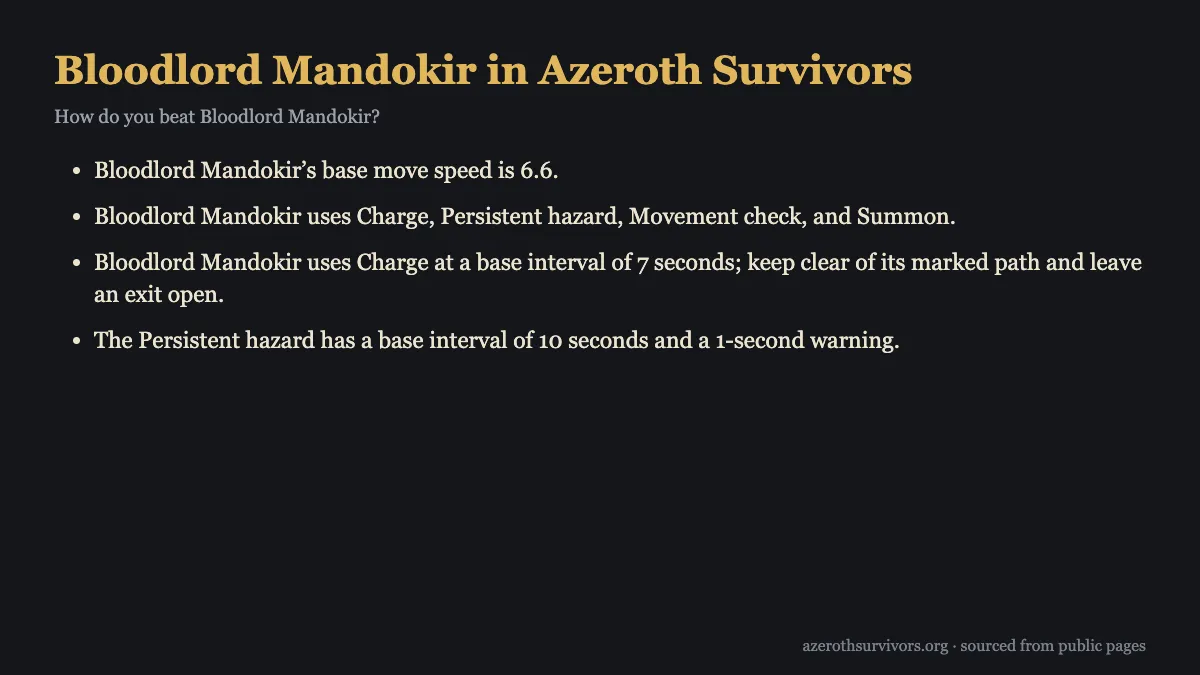
When the Movement check calls out his gaze, stop moving. The warning is explicit: “Bloodlord Mandokir fixes its gaze on you! Do not move!” Wait for it to resolve before moving again. When he summons 10 adds, keep an exit through them so the new enemies do not surround you. Each response is simple on its own; the challenge is recognizing which instruction is active.
Use the base intervals as a sense of the encounter’s rhythm: Charge is 7 seconds, Persistent hazard is 10 seconds, Movement check is 14 seconds, and Summon is 13 seconds. The intervals are affected by simultaneous casts, and his actions speed up once his health first drops below 30%, so avoid relying on a fixed sequence. React to the visible warning and keep your next route in mind.
An open exit helps across the whole fight. It gives you a way to clear the charge path, step beyond the hazard circle, and avoid being boxed in by the summoned adds. During the Movement check, follow its instruction and stop; do not treat every warning as a signal to keep moving. For more character context, browse the class builds and the Gurubashi Arena zone guide.
After Mandokir’s health falls below 30% for the first time, expect his actions to speed up. Keep your attention on the warning text and the marked areas, and be ready for actions to overlap because simultaneous casts affect their base intervals. The fight’s cues remain the practical guide: clear the path, leave the circle, stop for the gaze, and keep an exit through the adds.
What drops from Bloodlord Mandokir?
Bloodlord Mandokir drops a class chest piece with a 30% base chance for each listed class. The Warrior item is the Epic chest piece Breastplate of Wrath. Each eligible Breastplate of Wrath receives a separate drop roll, so the item’s chance applies to each eligible Warrior rather than sharing one roll across them.
The class chest drops are Breastplate of Wrath for Warriors, Judgement Breastplate for Paladins, Dragonstalker's Breastplate for Hunters, Bloodfang Chestpiece for Rogues, and Robes of Transcendence for Priests. Shaman receive Breastplate of Ten Storms, Mages receive Netherwind Robes, Warlocks receive Nemesis Robes, and Druids receive Stormrage Chestpiece. Each of these listed class drops has a 30% base chance.
If you are checking a specific character’s reward, match the class to its chest piece in that list. The Warrior drop is identified as an Epic chest piece, Breastplate of Wrath. The separate roll rule means eligible Warriors each have an individual roll for that piece; it does not describe a shared roll.
The listed chances are base chances. No additional per class modifiers or changes to those chances are specified here, so use the 30% base chance as the reference for each listed chest item. For more equipment browsing, see the item sets guide or return to the wiki home.
Azeroth Survivors Bloodlord Mandokir FAQ
When does Azeroth Survivors Bloodlord Mandokir show up?
He is the third of five bosses in Gurubashi Arena. High Priest Venoxis comes before him, and Jin’do the Hexxer follows.
How much health does Mandokir have?
His base health is eighteen thousand five hundred. His base hit is 42, and his base move speed is 6.6.
What should I do during the gaze warning?
Stop moving when the warning says, “Bloodlord Mandokir fixes its gaze on you! Do not move!” Resume after the Movement check resolves.
How do I avoid being surrounded by adds?
Keep an exit through the 10 summoned adds so the new enemies do not surround you. The summon has a base interval of 13 seconds.
What chest item can Warriors get from Azeroth Survivors Bloodlord Mandokir?
Warriors can receive the Epic chest piece Breastplate of Wrath, with a 30% base drop chance. Each eligible Warrior receives a separate drop roll in Azeroth Survivors Bloodlord Mandokir.